
Gitlab
Click here to open the GIT🔗Gitlab creation
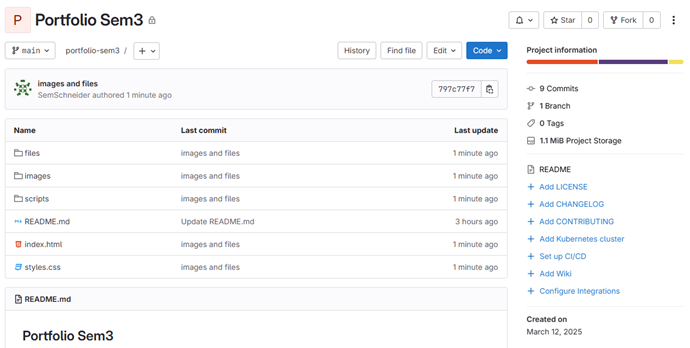
I started of creating a Gitlab repository for my portfolio, and cloned it to my Github so I can push and pull files through there. First steps I took was creating all the files and folder I will need for my website; files, images and scripts.
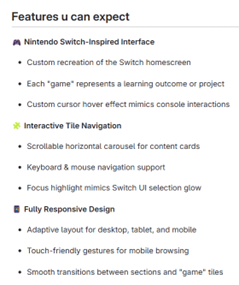
Then I worked on creating the readme for my project. The information I’ve provided in there now is what im planning on adding. I talked about what features my portfolio will have and what the reader can expect when looking at my website.
Portfolio Code
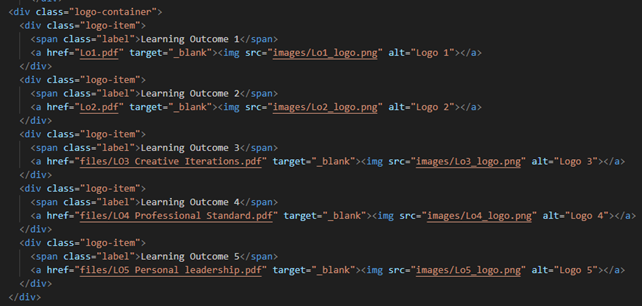
Interactive logo's
I already had a rough design for my portfolio, so I started with the Learning outcome logos as a container. I wanted it to have a blue border when hovering over it and text above it with the corresponding learning outcome. I did that by adding a label with the learning outcome, and having the opacity on 0, and when hovering it changes to 1.
I wanted to have a really clean looking code so I really focussed on that as well.

Reflection: The code it self isn't that diffucult, but maintaining a clean code that is easily readable by anyone (with html/css knowledge) is a very important thing if you are gonna do html and css as a job later on. You want to have it so that if I sent my code to someone who doesn't know what the project is, that at least he can follow the code and understands it.
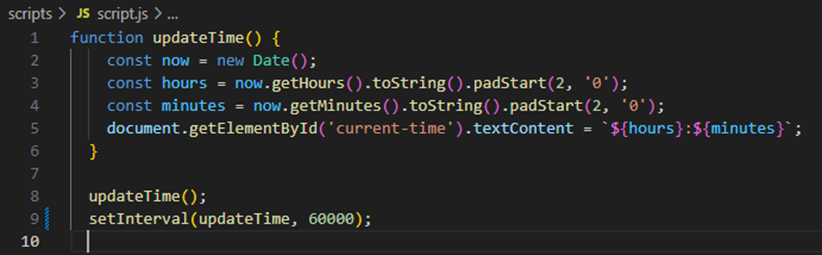
Navbar with current time
I started with the navbar, and I wanted the time in the top right to show the current time. I’ll be diving deeper in the code for that as I had to ask for help on this one.
This JavaScript code is fairly easy to understand after it got explained, it gets the current time and updates it every minute (60000 milliseconds). One thing I did have to change is that I forgot to link the actual script to the html file lol.

Workshop Dirk
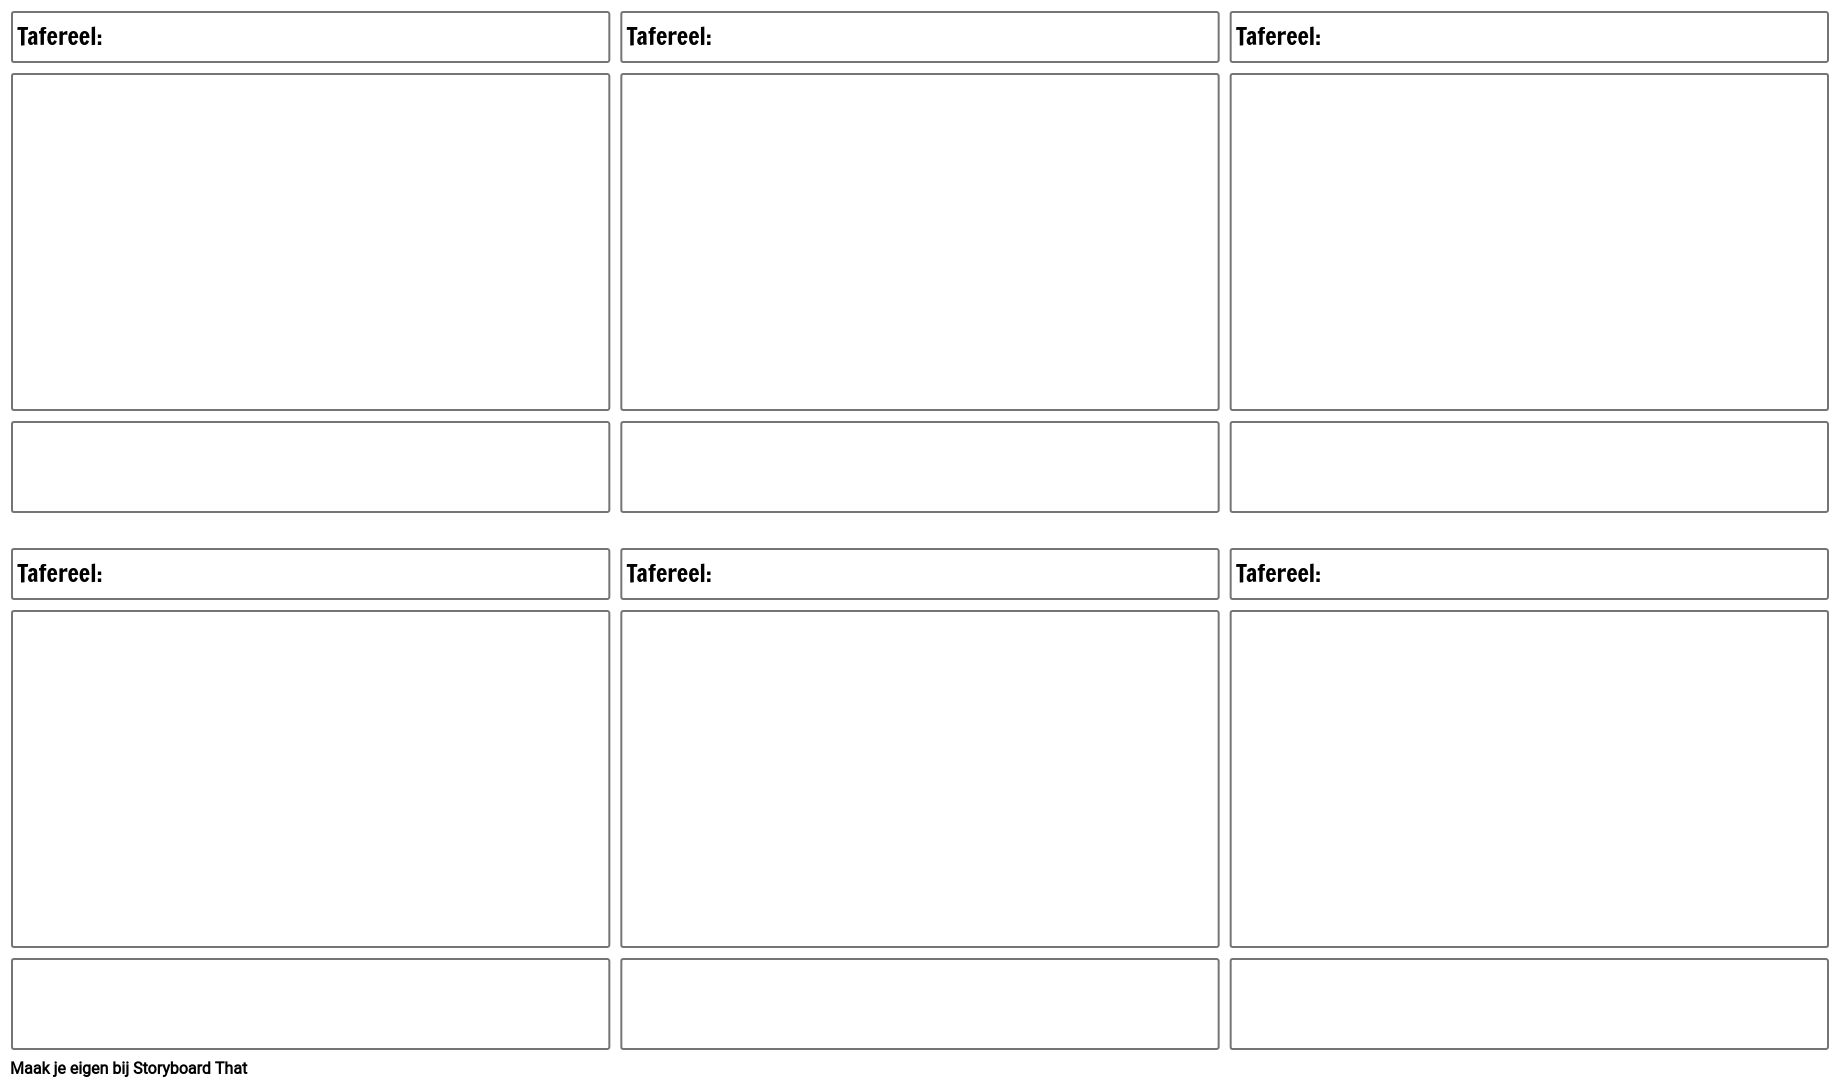
Storyboard
We had a workshop from Dirk about storyboard and he told us that Storyboards are a very good way to show someone what Idea you have without fully having to work it out. This makes it a handy transferable product 😊
You basically show parts of the story, and the other person can fill in the blanks to understand the story.
This story is about the process of what we hope to achieve to do with our marketing, we want students to see our advertisements and get the minor more recognition and participants. This storyboard was also used to show to the client of what we are hoping to achieve for them.
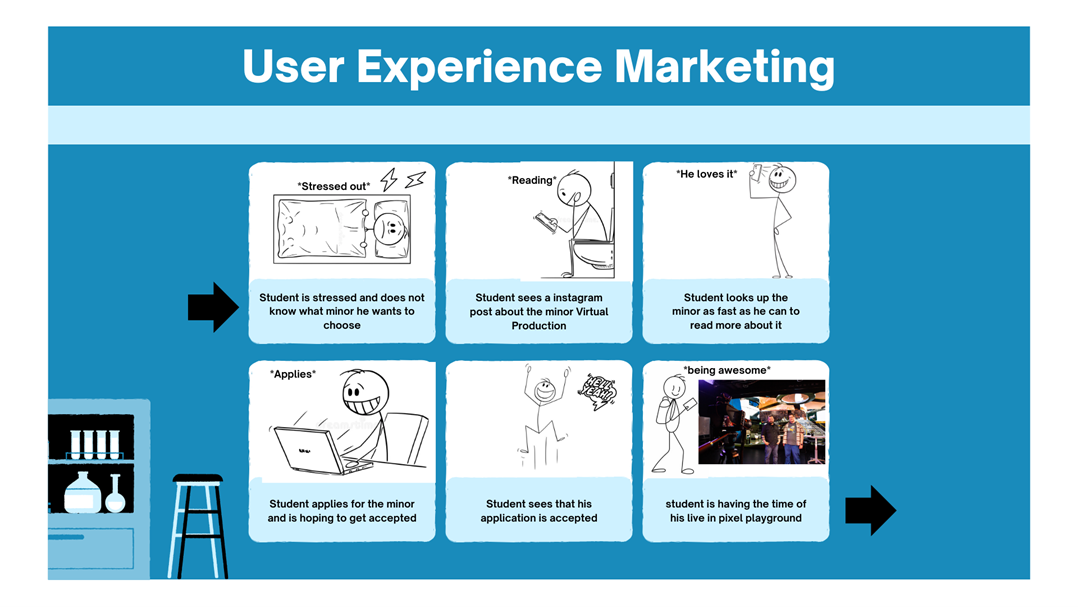
Reflection: the example we made for the marketing is really simple, but this workshop was really insightful and it fixes one of the things I sometimes struggle with (I mentioned this in LO5). Sometimes I have an idea but I don't know how to correctly explain what my vision is. Using this storyboard a different group showed their Idea of presenting their video for the rap cypher and at first no one understood it, but with the help of the storyboard it became easier to follow along and get an idea of what they are thinking and planning to do.
Strato Website
Setting up
My father-in-law (not official I’m neither married or engaged) asked me if I could setup a website for his company. He told me that buying it online can cost a fortune and that I was smart enough to do it so I’m giving it a shot.


I started of by buying a domain on STRATO, a domain hosting service that is pretty cheap and has good security and a user friendly environment.
I’m currently playing around with WordPress which I installed onto that webspace. I’ve never used that before so that is totally new to me, but I’ve heard a lot of great things about it so I’m excited about using it.

Wordpress
At first we started looking through templates and found one that he liked. One of the important things that the client wanted was that the website is responsive for mobile and desktop users.
This is how it is looking on desktop, there are still things we are changing but the client is working on a Word file with all the text he wants in the website.
 This is how it is looking on desktop, there are still things we are changing but the client is working on a Word file with all the text he wants in the website.


Having access to a menu where u can instantly add a new section is really handy, this makes it easy to add and change stuff on the website while the client is there since the process is so easy. It saves time of coding stuff and even makes it accessible to people that don’t know how to code.
This also made it possible for the client to make changes himself and have fun with creating his own site! ofcourse I was there with him for help but not having to write code is a huge positive.
Reflection:
For now, the focus was on testing functionality and getting the basics in place. Using a template the "client" liked, I ensured the site works well on both desktop and mobile. The ability to quickly add sections without coding made it easy to collaborate and let the client make changes themselves, which saved time and made the process more fun. In the future, we’ll refine the design and update the content to make the site look much more polished.
Workshop Maikel 🔗
HTML CSS JS
Maikel gave a very cool workshop about making an animated moving stairs with only using HTML/CSS and JavaScript. This was very cool to see and one thing that I always learn more about in Maikels workshops is the usage of Emmet Abbreviations. I thought I knew most of them but there is almost always something Maikel does that is new and cool to see.
here on the right is an example of how Emmet works, they have their own website called Emmet.io, you can find shortcuts to writing any code you like and it shortens the amount of time it takes to create a html file the way you want it.


One thing that I never knew was possible was going deeper into a div and specifying which one to specifically give a different CSS code than the first one. For example, we gave the second step a different position by doing #doorway>div:nth-child(2). I had never heard of it and I used to do it an entirely different way so that was awesome.
In the end our stairs had an animation of the steps showing up and the room going from dark to brighter so that was an awesome workshop.
Reflection:
Maikel’s workshop was really cool. I learned new Emmet shortcuts I hadn’t seen before, which will definitely speed up my workflow. I also discovered how to use :nth-child() to target specific elements in CSS, something I used to do in a much more complicated way. It was a fun and useful session that gave me small but powerful tools I’ll use in future projects.
More JavaScript code
Scrollspy code
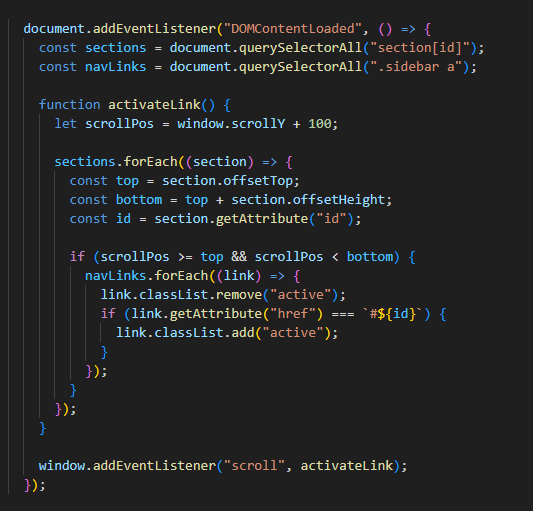
I wanted to make it so that the navbar follows along where you scroll and highlights it so it shows where on the page you are. I googled how that was possible and one of the first results was a script called "Scrollspy"
I'm not really good with Javascript so I watched a video about writing a scrollspy script and it the creator of the video fully explained everything which was really helpful. Afterwards I created my own JavaScript file and implemented it into my sidebar on the learning outcome pages.
Reflection:
I've fully come to terms with the fact that I'm not good with JavaScript, and I think that's fine! This example of the scrollspy is the perfect example, I didn't know how to write the code myself but I did really want to add it in my project. I then watched the video and understood why and how the code was written the way it is. I don't believe that if you would ask me to write the code myself that it would be close to anything functional, but it does prove that when I look up how it works, that I can implement that in my own project.
Reflection:
these video's were really fun to make and me and the group really found them funny. It didn't quite fit the overal picture of the marketing since the main video is really good looking and professional, while the short videos are more aimed at the target audience and current tiktok trends going around. I will definitely make sure these will be more in line if I make more in the future.